WebRTC Support
UniWebView supports WebRTC on iOS 14.3+ and Android, requiring specific configurations for safe browsing or regular web view use.
WebRTC (or say, the popular getUserMedia or similar APIs) is supported from iOS 14.3 and all Android versions. But it requires a few steps before you can use it.
First, you need to choose either using the Safe Browsing Mode (if you only need to display a web page full screen and do not need other customization) or using the regular web view (when you need to resize the web view and get more control).
Using Safe Browsing Mode
It is recommended that you use the Safe Browsing Mode to show WebRTC contents. It launches an environment closer to a real browser, where WebRTC can work seamlessly.
if (UniWebViewSafeBrowsing.IsSafeBrowsingSupported) {
  var safeBrowsing = UniWebViewSafeBrowsing.Create("https://webrtc.github.io/samples/");
  safeBrowsing.Show();
}
NOTICE
On Android, you need to add an intent query to allow UniWebViewSafeBrowsing API available. Please follow the "Checking Availability" part in the Safe Browsing Mode guide.
Using Regular Web View
If you need to take more control over the web view, you can still use the regular web view. Before the WebRTC APIs can work on your page, you need to configure the web view and project. In the example below, we try to use the camera. If you need other hardware such as the microphone, you can add the corresponding permissions as well.
On iOS
Make sure you are targeting iOS 14.3 or later. Before iOS 14.3, there is no support for WebRTC on the iOS system.
Add the code below to enable auto-play on iOS before you create a web view. Otherwise, the captured video won't play correctly.
UniWebView.SetAllowAutoPlay(true);
UniWebView.SetAllowInlinePlay(true);

// Now, you can create the web view.
var webView = webViewGameObject.AddComponent<UniWebView>();
// ...
Add
NSCameraUsageDescriptionkey in the Info.plist to the exported Xcode project. You can do this by setting a value to the "Camera Usage Description" field in the "Player Settings, iOS Settings tab" of your Unity Project.If you also need to access other hardware, you can add the corresponding permissions as well, such as
NSMicrophoneUsageDescriptionfor microphone.
On Android
Add the code below to enable auto-play on Android before you create a web view. Otherwise, the captured video won't play correctly on certain API Levels.
UniWebView.SetAllowAutoPlay(true);
UniWebView.SetAllowInlinePlay(true);

// Now, you can create the web view.
var webView = webViewGameObject.AddComponent<UniWebView>();
// ...
Request the camera permission in either the AndroidManifest.xml and through Unity's
Permissionclass.Permission.RequestUserPermission(Permission.Camera); // Maybe you need these too in some cases in AndroidManifest.xml: <manifest xlmns:android...> ... <uses-permission android:name="android.permission.CAMERA" /> <application ... </manifest>If you also need to access other hardware, you can add the corresponding permissions as well, such as
android.permission.RECORD_AUDIOfor microphone.
Prompt for Permission
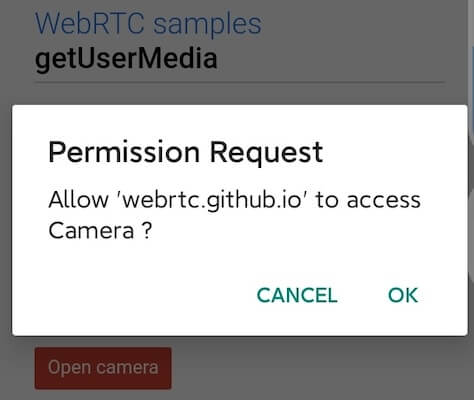
Now, when you load a page that uses WebRTC, the web page will prompt the user to allow the hardware access.
webView.Load("https://webrtc.github.io/samples/");

// When you open a demo on the page (such as "Basic getUserMedia demo") and
// start to use the media hardwares, a prompt will show up.
Grant Permission by Default
If you have a certain host that you trust and want to allow the hardware access by default without showing the prompt alert, you can use the RegisterOnRequestMediaCapturePermission to handle the request by yourself.
Check the related API documentation for more details.
webView.RegisterOnRequestMediaCapturePermission((permission) => {
    if (permission.Host == "webrtc.github.io") {
        return UniWebViewMediaCapturePermissionDecision.Grant;
    }
    return UniWebViewMediaCapturePermissionDecision.Prompt;
});